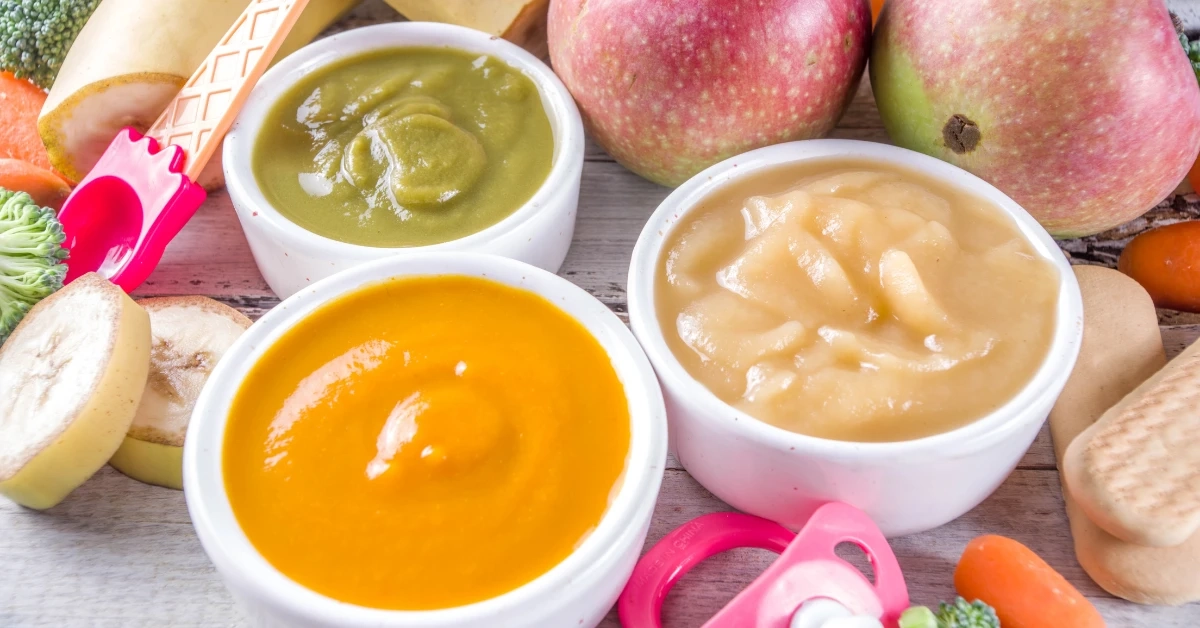
Transitioning from purees to finger foods is a developmental milestone that relies more on your baby's readiness than their exact age. By recognizing signs like improved motor skills, diminished tongue-thrust reflex, and increased food interest, you can safely support your child’s journey toward self-feeding and lifelong mealtime confidence.
Age alone doesn't determine when a baby is ready to try finger foods. What truly matters is whether they’ve developed the physical and motor skills needed for safe eating. Many babies show signs of readiness between 6 and 9 months, but every child develops on their own timeline. If you’re wondering what feeding method is right for your baby, start by learning to recognize the key developmental skills that signal readiness.
Before offering that first bite of avocado or steamed veggie, it’s important to watch for certain cues that your baby is physically prepared. These signs help lower the chances of feeding challenges or safety concerns—especially with approaches like baby-led weaning, which encourages your little one to eat independently from the start.
Look for the following signs in your baby:
💡 Quick Tip: Readiness isn't just about age—look for motor and developmental cues before introducing finger foods.
Another sign your baby may be ready? Their hands are starting to do some really incredible work. At first, babies grasp using their whole hand—what’s called a palmar grasp. During this stage, offer easy-to-hold foods, like spears of well-cooked vegetables or spinach lamb fingers, which are perfect for small hands still learning how to grab and explore.
As they approach 8 to 9 months, many babies begin to show a pincer grasp—using their thumb and forefinger to pick up small bits of food. This development is a big milestone in fine motor coordination. When this ability emerges, you can begin sharing small, soft, bite-sized pieces. Our meal plans for babies 9–12 months include recipes carefully created with textures and sizes that support this important stage.
Finger foods aren’t just about introducing new tastes—they’re about helping your baby build essential life skills using every sense.
As your baby starts to self-feed, they're not just eating—they're developing muscles used for speaking, chewing, and swallowing. That messy, enthusiastic grabbing and chewing? It’s all supporting their growing oral motor strength. At the same time, hand control strengthens through picking up pieces of food—moving from fistfuls to delicate thumb-and-finger pinches.
Whether you practice baby-led weaning or mix purees with finger foods, encouraging self-feeding allows your child to explore and learn with every bite.
👶 Parent Tip: Encourage your baby’s efforts, even if meals get messy—mess is part of motor development!
Giving babies the lead at mealtimes helps build their confidence—they feel trusted, which fosters a sense of independence early on. It also introduces them to a full sensory experience: squishing soft avocado, tasting smooth vs. grainy textures, smelling warm toast. These sensations help babies adapt and grow curious about foods beyond just flavor.
Self-feeding also supports a baby’s natural ability to regulate their hunger and fullness—laying a foundation for healthy eating habits that last.
Timing makes a valuable difference. Research shared in the British Journal of Nutrition shows that introducing textured or “lumpy” solids by about nine months may help reduce the risk of picky eating later on.
Giving babies regular chances to handle and taste different foods—like our spinach lamb fingers or steak strips—can lead to smoother transitions and better acceptance down the road. Our meal plans for babies are full of options that support early explorers learning to love food.
Starting finger foods is an exciting step—but knowing what to offer first can feel overwhelming. The goal is to keep things soft and safe so your baby can chew or gum them easily, even without teeth.
💡 Quick Tip: Use the squish test—if you can mash it between your fingers, it’s soft enough for baby.
Early on, your little one will grasp with their whole hand, so foods cut into stick shapes—about the length and width of an adult finger—are best. This size is just right for their development and supports baby-led weaning or other self-feeding methods.
As your baby gains confidence, offer more textures like spinach and lamb fingers. For ongoing inspiration, our baby meal plans include developmentally appropriate options every step of the way.
From around 6 months, babies use a palmar grasp—grabbing with their whole hand. To support this, offer foods cut into longer, soft pieces, about 2 to 3 inches long.
Try these early finger food options:
👶 Parent Tip: Use a crinkle cutter for slippery foods to make them easier to grasp.
By 9 months, many babies begin to pick up small items between their thumb and forefinger—a pincer grasp. This means you can begin offering smaller, finely cut pieces safely.
Offer these types of foods:
Check out our 9–12 month meal plans for ideas that match this stage.
Introducing solids brings natural concern about choking. One of the best ways to support your baby’s safety is to modify food texture and shape appropriately.
Known choking hazards to watch for:
To make these safer:
💡 Quick Tip: Always apply the squish test—if it squishes, it’s likely safe.
Gagging is a normal, protective reflex. Because your baby’s gag reflex is more sensitive and sits farther forward, it's easily triggered when learning solids.
Signs of gagging:
💡 Quick Tip: Gagging is noisy and scary-looking—but often safe. Let baby try to recover on their own.
Choking is silent and serious. It’s an airway emergency requiring immediate help.
Signs of choking:
Being prepared makes all the difference:
Written by: Dr. Diana Jimenez, Pediatrician specializing in child nutrition, lactation, and child development.
Sources:
American Academy of Pediatrics - Starting Solid Foods
Centers for Disease Control and Prevention - When to Introduce Solid Foods
British Journal of Nutrition - Delayed Introduction of Lumpy Foods to Children During the
Complementary Feeding Period Affects Child's Food Acceptance and Feeding Behaviour
Solid Starts - Gagging vs. Choking
9 months ago