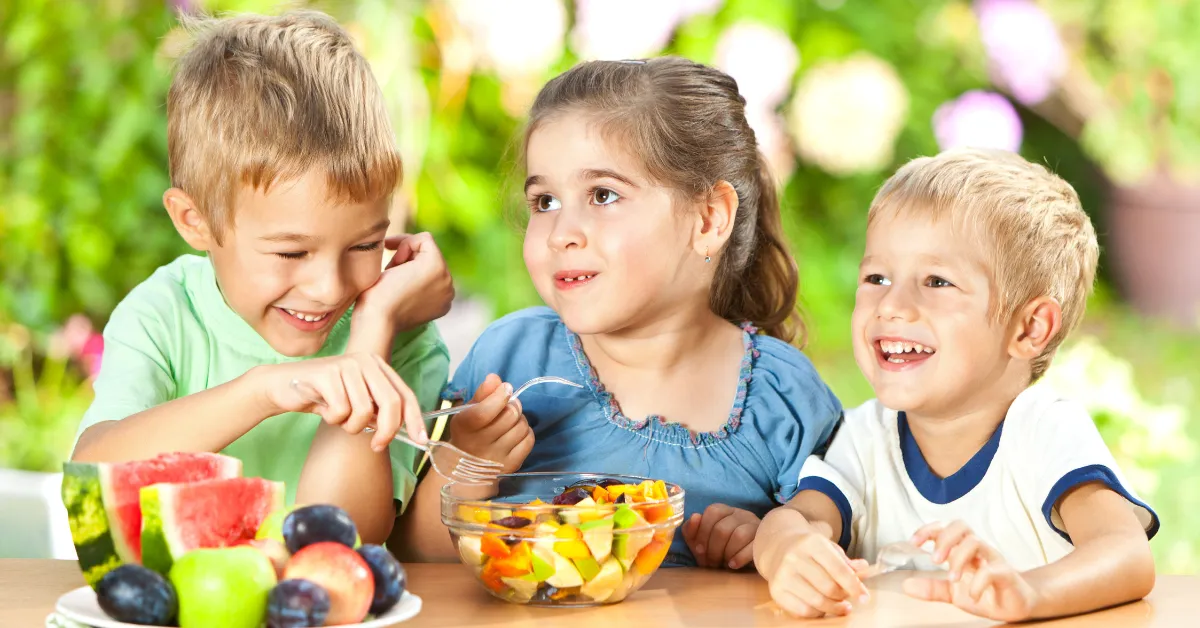
Creating a kid-friendly snack station at home helps children develop independence while promoting nutritious eating habits within a structured and stress-reducing environment. By organizing accessible, age-appropriate snacks and involving kids in selection and prep, parents can support healthy routines and mindful food choices that benefit the entire family.
A kid-friendly snack station can do wonders for your family’s daily flow. Beyond keeping your kitchen looking neat, it nurtures your child’s independence while supporting healthy habits in a fun, approachable way. Giving kids the freedom to choose from parent-approved snacks helps boost their confidence and encourages them to listen to their bodies—like knowing when they’re hungry or full. Plus, it helps cut down on snack-time interruptions by putting nutritious options right at their fingertips.
In this blog:
When snacks are easy to see and reach, kids get more chances to make their own choices. That sense of ownership can go a long way in helping them develop smart habits around food. Studies, like one published in the Journal of Nutrition Education and Behavior, show that when fruits and veggies are accessible, children are more likely to eat them. A snack zone stocked with wholesome choices helps make nutritious food the go-to option.
It’s less about telling your child what to eat and more about creating an environment where healthy choices come naturally. Curating a mix of healthy snack ideas becomes an easy way to support their nutrition and encourage independence at the same time.
The first step in building your snack station? Pick a location your child can access easily and safely. Look for a space within their reach—ideally under 36 inches high—so they don’t need to climb or ask for help.
Kid-friendly locations might include:
Quick Tip: Use picture labels or color codes so even toddlers can find what they want.
Next, break the station into two areas: one for room-temperature items, and one for snacks that need to stay cold.
Store them in small, clear bins with labels to make choices simple.
Parent Tip: Having grab-and-go fruit prepped in snack-size containers encourages even picky eaters to try them.
While accessibility is important, safety always comes first. Keep a close eye on:
Quick Tip: Anchor any rolling carts or freestanding shelves to the wall for extra stability.
One way to simplify snack choices is by thinking in categories: "always foods" and "sometimes foods."
“Always foods” are nutrient-rich, energizing, and appropriate for everyday snacking. They’re full of what your child needs to grow and thrive. Having these staples ready makes it easier to keep your kitchen organized for when hunger strikes.
Nutritious “always food” ideas include:
“Sometimes foods” may contain more sugar, refined ingredients, or sodium, so they’re best offered in moderation. This helps your child develop balance, while still having flexibility.
Parent Tip: Keep “sometimes snacks” on a higher shelf and rotate availability.
Nutrition labels can help you choose smarter snacks. For children:
Choosing snacks with fewer ingredients and focusing on whole foods helps your child meet these targets naturally—and supports efforts to consistently build better lunchboxes.
The containers you use can make a big difference in how smoothly your station functions. Clear, BPA-free bins allow kids to see their options right away, giving them more confidence in making choices.
Bento-style boxes are another smart pick. Their compartments help teach kids what a balanced diet looks like—and keep portions just right.
Reusable snack bags are great for the environment and for teaching kids good habits. Durable silicone versions help cut back on plastic use, reinforcing thoughtful routines.
Quick Tip: Add a fun water bottle to the snack area—kids aged 4–8 need about 7 cups (1.7 liters) of water daily.
Children who help in the kitchen are often more interested in trying what they’ve made. Studies from the University of Colorado Anschutz show a link between kitchen involvement and a willingness to eat more fruits and vegetables.
Quick Tip: Invite kids to help refill bins or choose snack options during grocery unpacking.
All kids can participate in snack prep—even toddlers! Choose tasks that suit their abilities:
A snack station works best when it’s part of your weekly rhythm. Tie restocking it to your shopping day or regular meal prep time. In about 20 minutes, you can:
Even the simplest systems need a few guidelines. Try starting with these:
Parent Tip: Teach kids the USDA's “2-Hour Rule” for refrigerated items:
By keeping your system safe, simple, and consistent, your snack station becomes so much more than a food zone—it’s a daily tool that supports wellness, responsibility, and joy.
Written by: Vivian Castillo, MS, RD, CNSC – Registered Dietitian and clinical nutrition expert in pediatric care.
Sources:
Centers for Disease Control and Prevention (CDC) - "Childhood Obesity Data"
American Academy of Pediatrics - "Snacks for Children"
American Heart Association - "How Much Sugar Is Too Much?"
Journal of Nutrition Education and Behavior - "Full-text Article on Healthy Food Availability"
National Academies of Sciences, Engineering, and Medicine - "Dietary Reference Intakes for Water, Potassium, Sodium, Chloride, and Sulfate"
University of Colorado Anschutz Medical Campus - "Get Your Kids in the Kitchen to Improve Their Health"
U.S. Department of Agriculture (USDA) Food Safety and Inspection Service - "Food Safety Basics: Danger Zone (40°F - 140°F)"
9 months ago