Packing leftovers for lunch can be a smart and efficient way to reduce waste and save time, but it requires careful attention to food safety. From how quickly you chill cooked meals to the type of container and cold source you use, every step plays a role in preventing harmful bacterial growth and ensuring your meals are safe to eat.
Key Takeaways: Learn how to keep your toddler and family safe by storing, cooling, and reheating leftovers the right way. From tackling the temperature “danger zone” to using the right containers and packing a safe lunch, this guide covers essential food safety practices for busy parents.
In this blog:
Keeping your family safe and healthy begins with a simple but crucial food safety rule: the Two-Hour Rule. The USDA recommends placing perishable food in the fridge within two hours of cooking. If you're outside or it’s warmer than 90°F (32°C), that window shrinks to just one hour.
And here’s something many people overlook—the countdown begins the moment food comes off the heat, not after everyone’s finished eating. The longer food sits out, the more likely bacteria will start multiplying quickly, which raises the risk of foodborne illness.
Quick Tip: Set a timer once food is off the heat to remember your two-hour window!
Big portions—like a pot of soup or roast chicken fresh from the oven—retain heat much longer than something small, so they need a bit of extra care.
To cool leftovers safely and help them chill evenly:
This method gets your food out of the danger zone (40°F–140°F)—the temperature range where bacteria thrive.
You might be tempted to place hot food directly in the fridge to save time, but doing so can slightly raise the inside temperature, which affects everything else stored there. Food doesn’t have to be fully cooled before refrigerating, but it should rest for a bit—ideally no more than 30 minutes, according to USDA guidelines.
Here are a few ways to help food cool properly without putting your fridge at risk:
Parent Tip: Keep a cooling tray on standby during meal prep days to speed up the process safely!
Keeping leftovers safe means being aware of the Temperature Danger Zone—between 40°F and 140°F (4°C to 60°C). This is the range where bacteria like Salmonella, E. coli, and Listeria can grow quickly.
At room temperature, bacteria can double in as little as 20 minutes, according to the USDA. That’s why time and temperature play such a crucial role in food safety.
Morning routines can unintentionally lead to food getting too warm. A packed lunch might sit in a backpack or car for hours, especially if there’s no fridge nearby. On warmer days, this is even more of a concern.
Packing food safely doesn’t end in your kitchen. If you meal prep school lunches, make sure those meals stay within a safe temperature range until it’s time to eat.
Here’s how to help protect your food throughout the day:
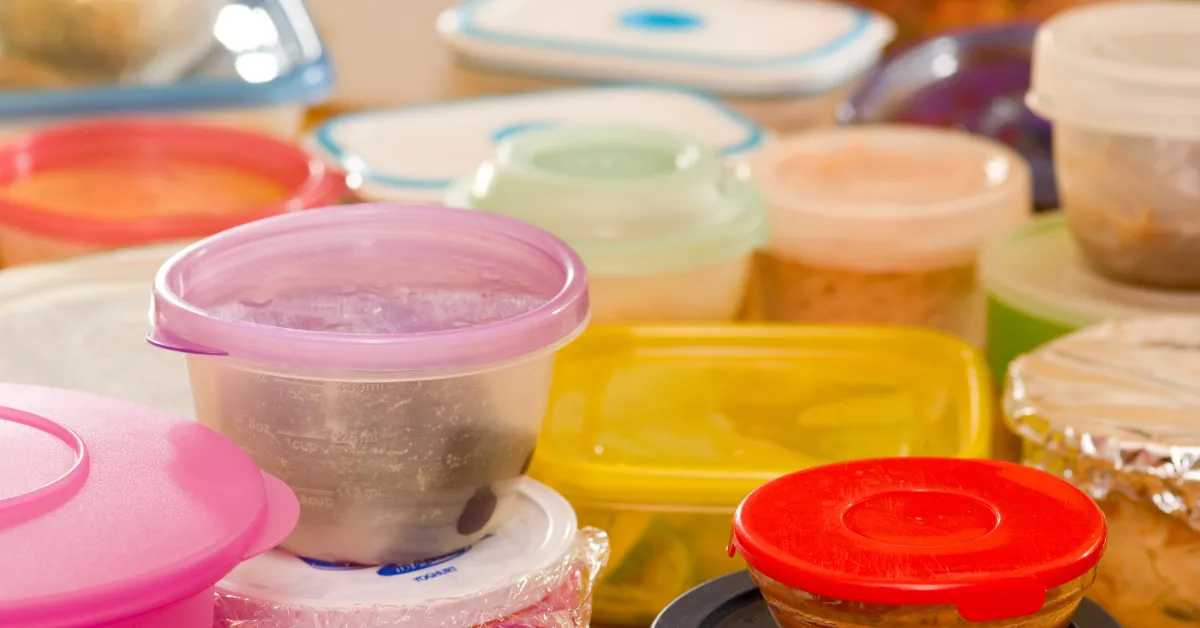
Using the right container does more than organize your fridge—it helps keep food fresh and safe. Airtight, leak-proof containers keep ingredients separate, prevent spills, and protect from outside air that can cause food to spoil faster.
This is especially important when you’re trying to build a balanced lunchbox with different components for your child.
Choosing containers that fit your family's routine can make a big difference.
Here’s a breakdown of some common options and their benefits:
If you're just getting started or need to refresh your lunch gear, here are a few go-to brands trusted by families:
An insulated lunch bag is a must-have for keeping food at a safe temperature until it’s time to eat. Paper and plastic bags just don’t do the job.
To steer clear of that 40°F to 140°F danger zone, pack at least one cold source—and on hot days, two is even better, especially for perishables like meat, dairy, or cut fruit.
There are several simple options that make lunch safer and more refreshing:
Start with food that’s already cold. Keep your leftovers in the fridge until you're ready to pack, then place them straight into the insulated lunch bag.
Follow this packing method to keep everything cooler, longer:
Parent Tip: Reusable cold packs shaped like animals or fruit make lunch fun and functional!
Leftovers can make a quick, delicious lunch—but reheating them properly is the key to keeping your child’s meal safe. According to the USDA, all leftovers should be reheated to 165°F (74°C). That’s the point where harmful bacteria are destroyed.
Especially when you’re planning to meal prep school lunches, this step can’t be skipped.
Don’t trust appearances alone. The most reliable way to know your food is safe is to use a food thermometer. Insert it into the thickest part of the dish, making sure it’s not touching the bottom or sides of the container.
Quick Tip: Keep a compact food thermometer in your kitchen for quick checks!
Microwaves are convenient, but they can also create hot and cold spots.
To make sure food heats safely and evenly:
Most cooked leftovers are safe for about three to four days. Even if they look and smell fine, unseen bacteria can still be there.
Safe food storage helps protect the meals you’ve worked hard to prepare.
If leftovers won’t be eaten in that time, freezing is a great option. Frozen foods stay safe permanently, but for the best texture and flavor, they’re best used within two to six months depending on the dish.
Here’s a handy list of common lunchbox leftovers and how long they typically stay good in the fridge:
Some foods don’t hold up quite as well:
Quick Tip: Label leftovers with storage dates to make tossing decisions quicker and easier!
When in doubt, it’s best to throw it out. Harmful bacteria don’t always have obvious signs—and your family's wellness is worth more than a guess.
Written by: Vivian Castillo, MS, RD, CNSC – Registered Dietitian and clinical nutrition expert in pediatric care.
Sources:
USDA - "Leftovers and Food Safety"
FDA - "Are You Storing Food Safely?"
CDC - "Keep Food Safe"
Partnership for Food Safety Education (Fight BAC) - "The Core Four Practices"
7 months ago